
Manually Install Ubuntu from an ISO in VMmanager 5
- Published in Wiki
- Be the first to comment!
How to upload an installation image, attach it to a virtual server, and start the operating system installation.
If the required Ubuntu version is not available among the templates for automatic reinstallation, you can use an installation ISO image instead. This guide outlines the general procedure in VMmanager 5.
1. Prepare the ISO image
Download the Ubuntu Server ISO for the required version from an official source. If you plan to download it by URL, make sure the link points directly to the ISO file.
Official Ubuntu releases archive
2. Upload the ISO to VMmanager 5
Open the ISO upload tool
Log in to VMmanager 5 and select Upload ISO from the toolbar.
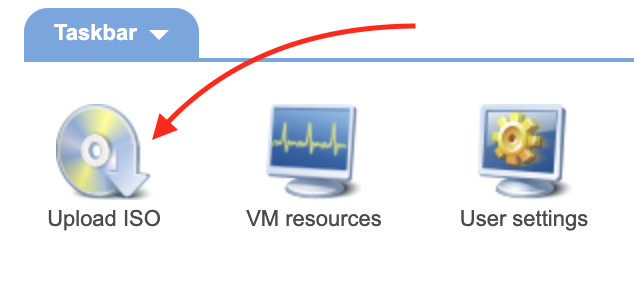 VMmanager 5 interface illustration.
Choose an upload method
In the File type field, choose one of the available options: select an ISO file from your local computer or download the image from a remote server using a URL.
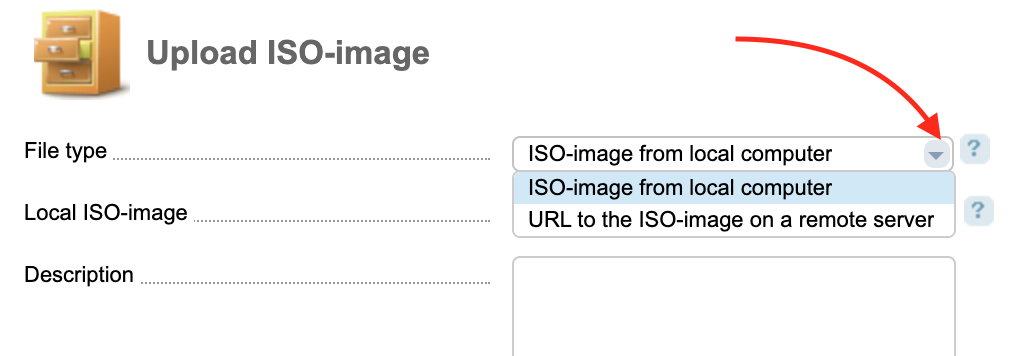 Selecting the ISO image source.
Option A — from your computer
Select ISO-image from local computer, choose the file on your computer, and confirm the upload by clicking OK.
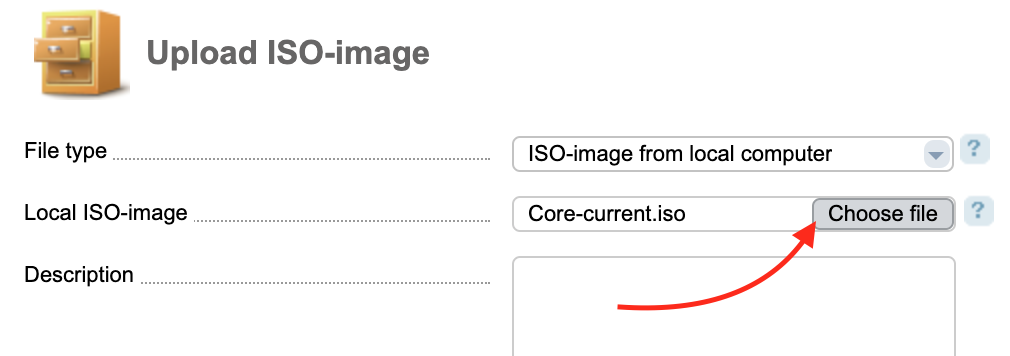 Selecting an ISO file.
Option B — by URL
Select the remote-server download option, enter the direct URL to the ISO and an image name, then save the settings.
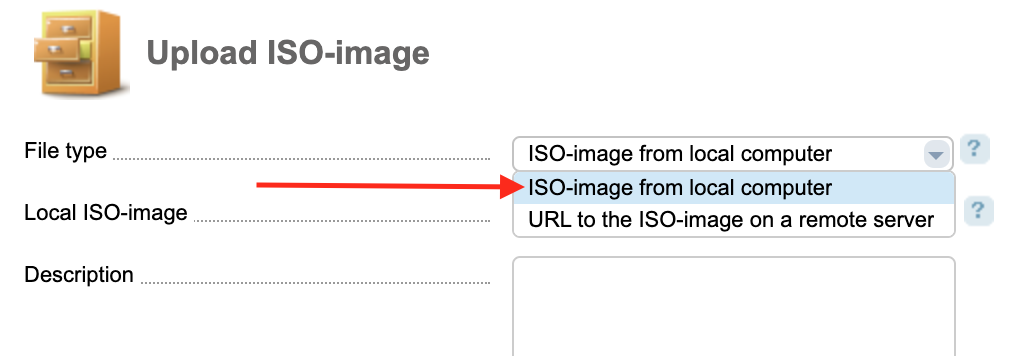 Configuring the image source.
3. Attach the ISO to the virtual machine
Open the virtual machine list
Go to Virtual machines and select the required VDS.
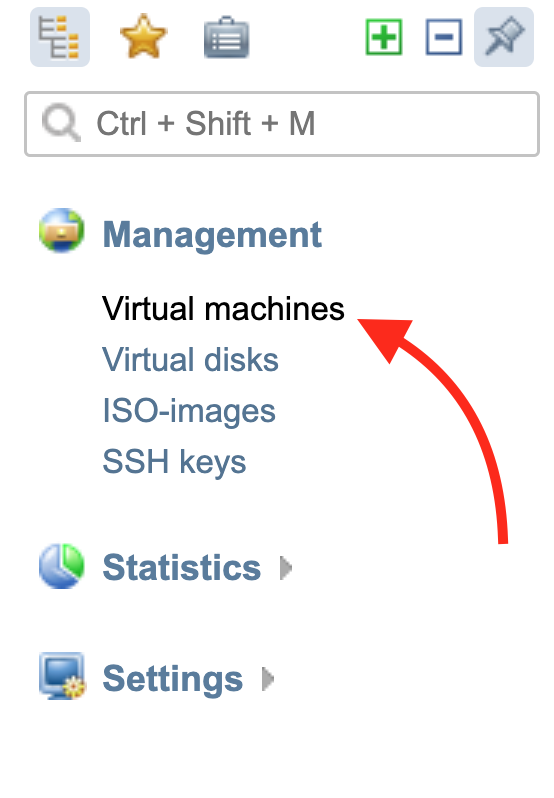 Opening the virtual machine list.
Stop the VDS and open disk settings
Shut down the virtual machine before attaching the ISO. Then click Disks and select ISO.
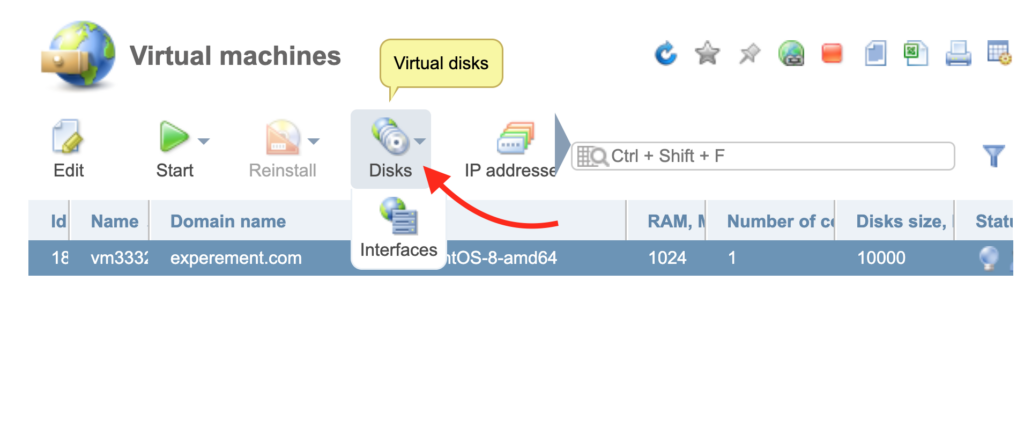 Opening disk settings.
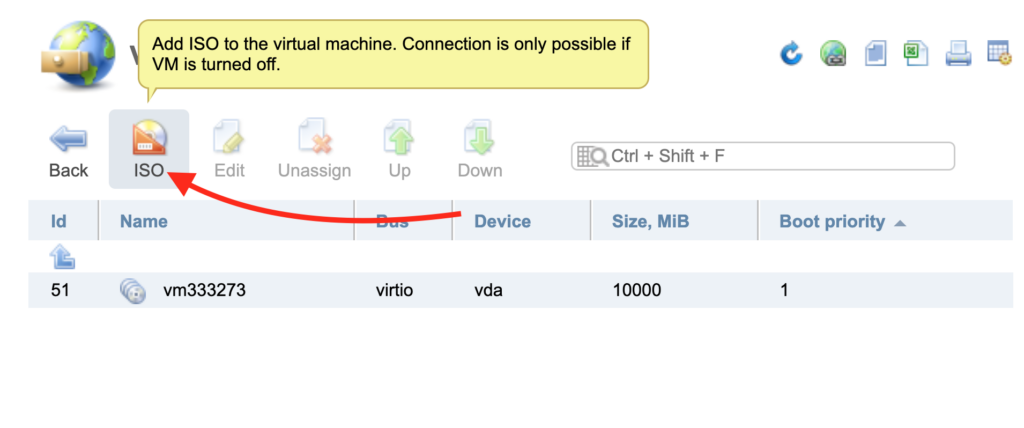 The ISO attachment option is available when the virtual machine is powered off.
Select the image and set the boot order
Choose the uploaded ISO in the Image name field. If necessary, check the virtual device and set the attached image to a high boot priority. Save the settings by clicking OK.
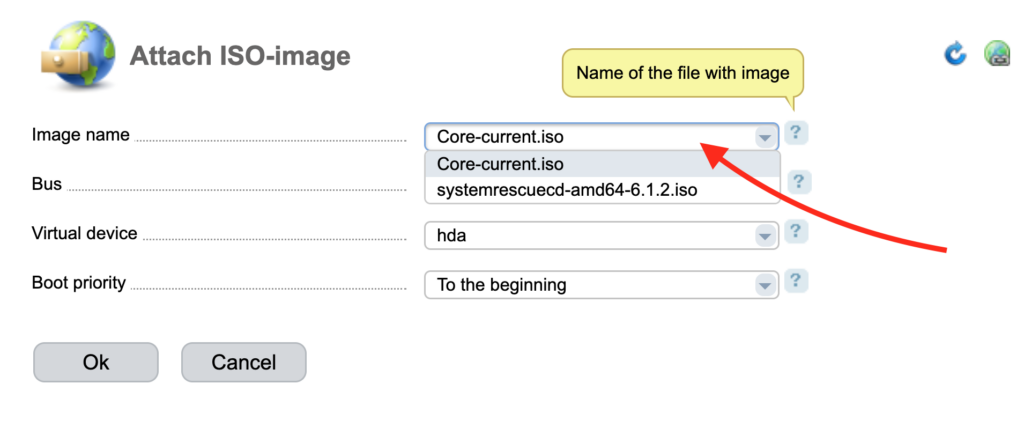 ISO attachment settings.
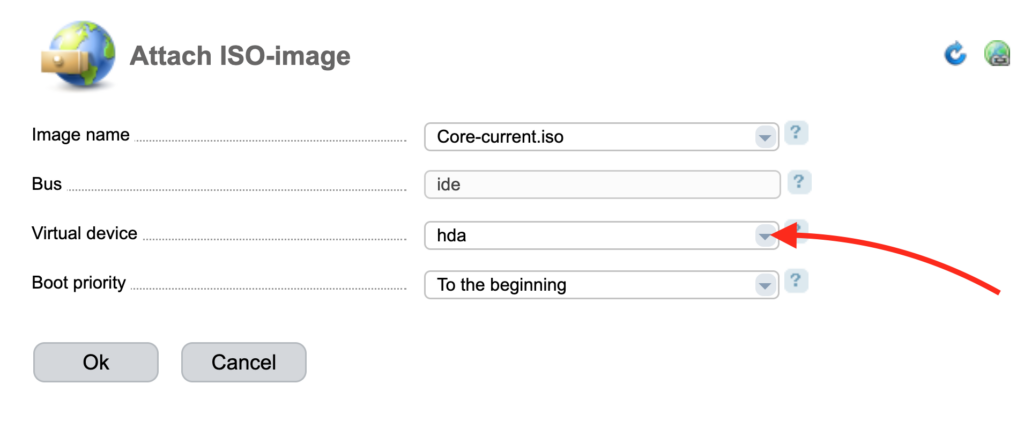 Image boot priority.
4. Start the Ubuntu installation
- Start the virtual machine and open its console (VNC/console) in the control panel.
- If the machine does not boot from the ISO, check the boot order and confirm that the image is attached.
- When the installer menu appears, follow the Ubuntu Server installation instructions.
- Configure the disk, network settings, and user account. Be careful when selecting a disk: formatting may erase existing data.
- After installation is complete, detach the ISO in VMmanager 5 and reboot the virtual machine from the installed system disk.
- Verify network connectivity and SSH access.